Before Pinterest boards, and Instagram saved folders there was… *the bulletin board*. If you grew up in the 80s or 90s like me, you know what I’m talking about. A simple cork board, with a dusty beige border, hung in our bedrooms often clashing with that floral 90’s wallpaper. Mine was plastered with cutouts from magazines, ribbons I won in the science fair, and fuzzy snapshots of friends from girl’s camp (taken on actual film cameras, no less).
Well, it might be a few decades later and children’s bedrooms a lot more aesthetic, but the joyful mess of childhood and the impulse for displaying every random drawing and award still remains. Let’s give the classic pinboard an update. I’ve got a simple tutorial for a lovely fabric-covered pinboard for you. It’s a stylish throwback that brings together my nostalgia and my daughter Ava’s love of all things collectable. I’m sure we all have a kid like this, but Ava has an eye for the little things—pressed flowers, postcards, shiny rocks, birthday cards she can’t bear to part with–she’s a saver and a displayer. We’ve already done a built-in bookcase for her growing collection of books and figurines, but this pinboard? It’s a whole new canvas for her ever-evolving gallery of treasures.
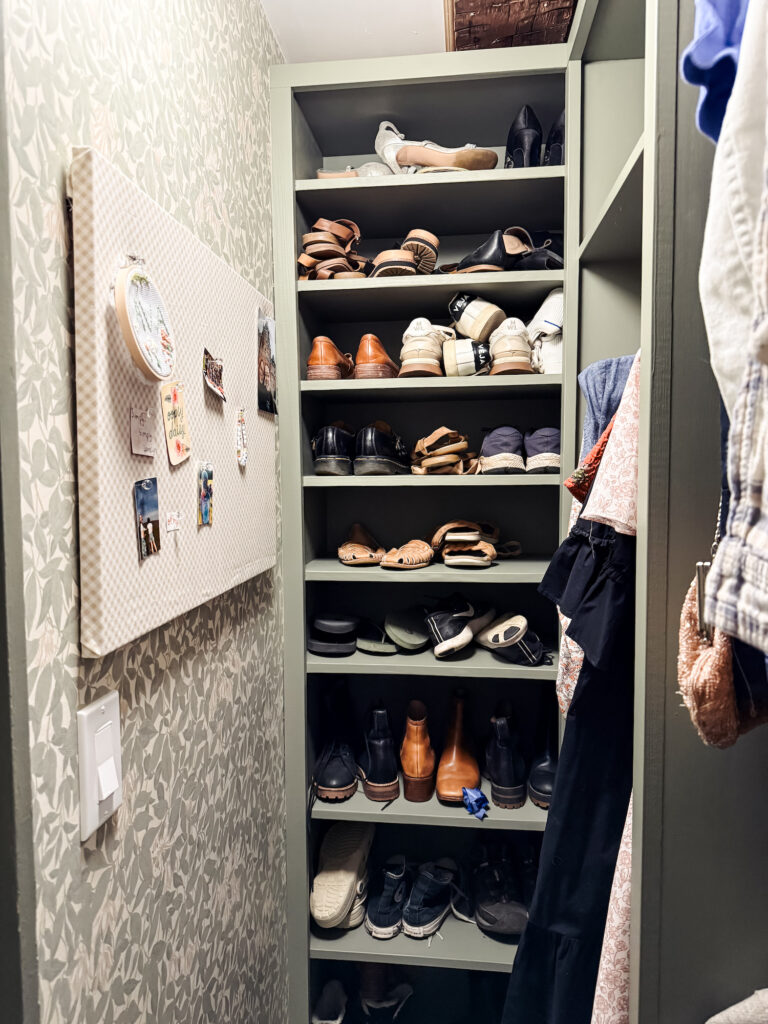
We’ve done the girls’ room in a *Secret Garden*-inspired theme—think soft florals, little nooks, and a dash of whimsy. This DIY fabric pinboard fits right in and gives her the perfect spot to pin and repin to her heart’s content. Plus, it was super easy (and therapeutic!) to make.
Here’s how you can make your own:
DIY Fabric-Covered Pinboard Tutorial
Supplies You’ll Need:
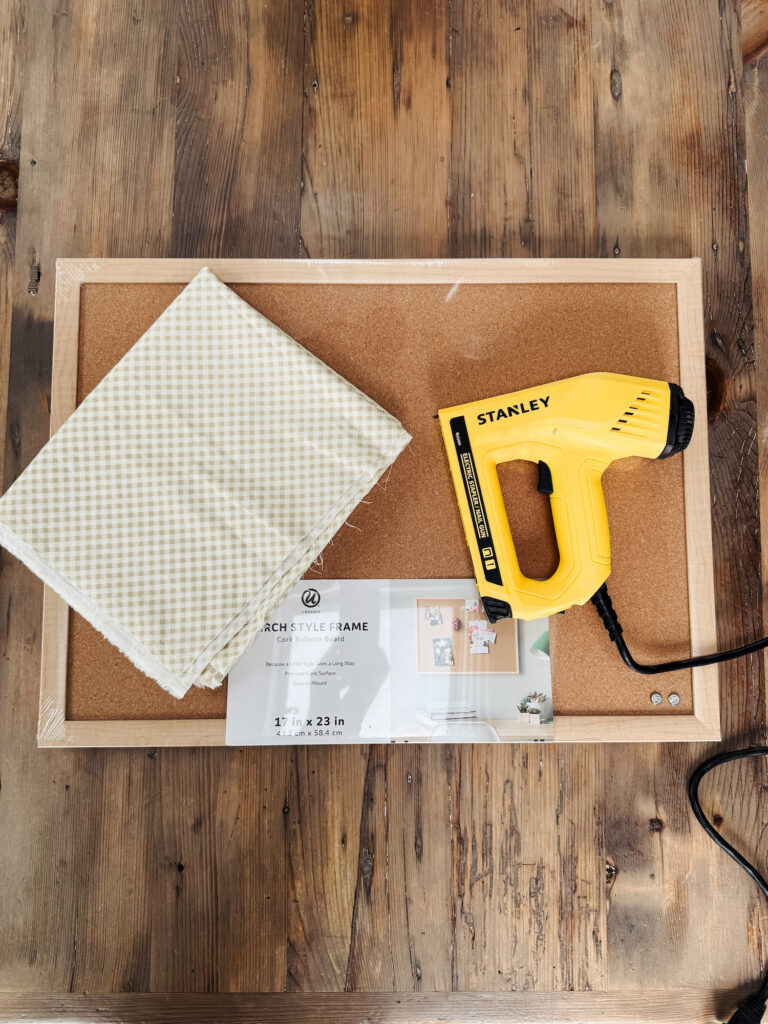

* 1 framed cork board (any size works, here’s the one I used)
* 1 yard of fabric (choose something that fits your room’s vibe—we went with a pretty cotton gingham)
Step 1: Select Your Fabric
This is the fun part! Choose a fabric that speaks to the theme of the room. Ava and I went with a muted gingham. Lightweight cotton or linen works best—nothing too thick or stretchy. Hold it up against your board before committing to make sure you like the pattern in your space. Etsy is a great place to find fabric for this project.
Step 2: Iron That Beauty
If your fabric came folded (and let’s be honest, it did), you may want to give it a good iron so it lays nice and flat. You can also use a steamer at the end. (I skipped this step and it was a mistake, as you’ll see later.)
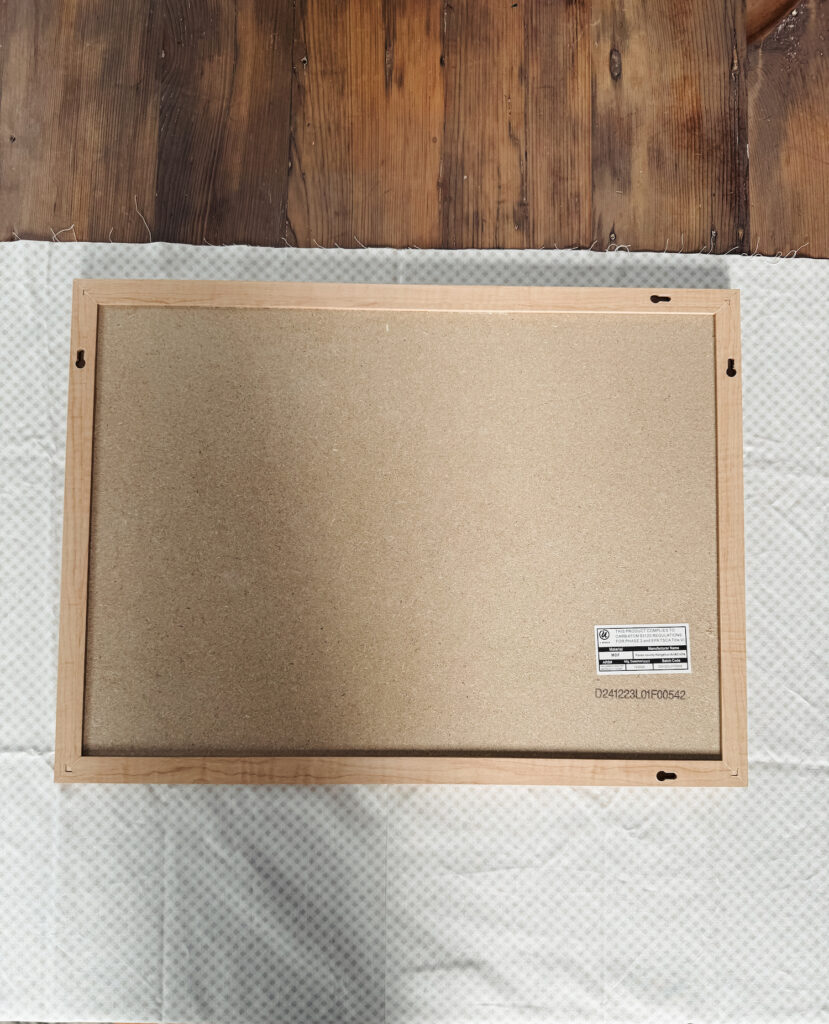
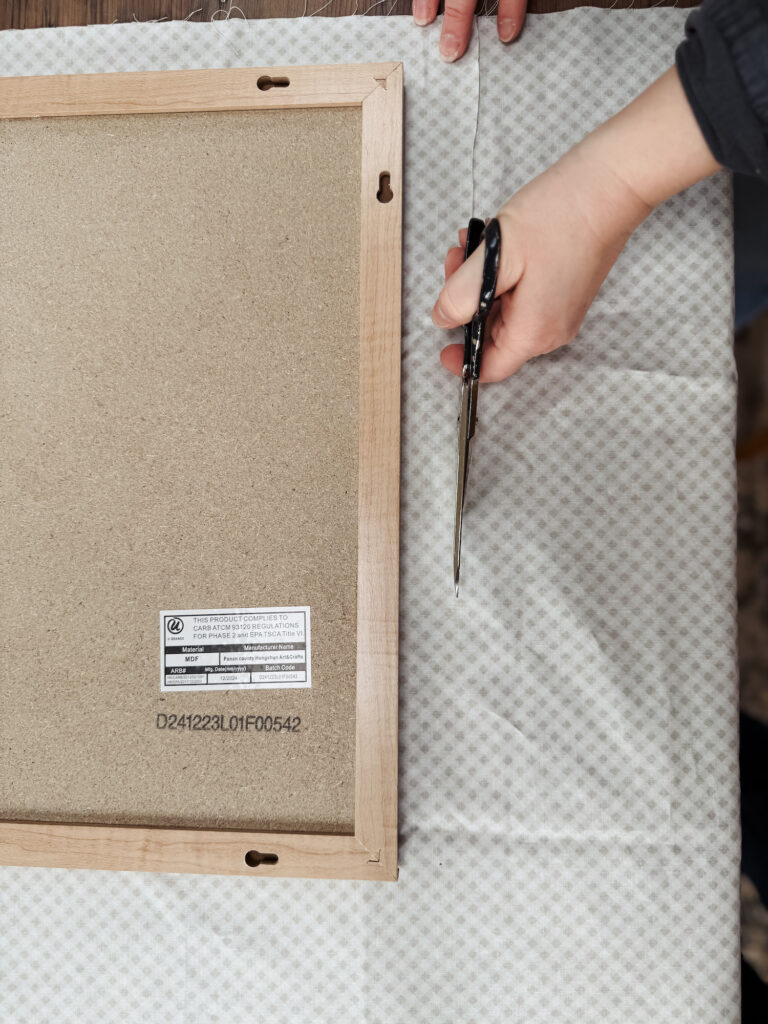

Step 3: Center & Cut
Lay your fabric face down on a clean surface. Place the cork board face down on top of the fabric. Center the board on the pattern (especially important if your fabric has a directional or centered design). Leave about 2–3 inches of extra fabric around each side so you have enough to wrap and staple.
Cut your fabric to size if needed. Don’t worry about perfectly straight lines—those edges will be on the back.
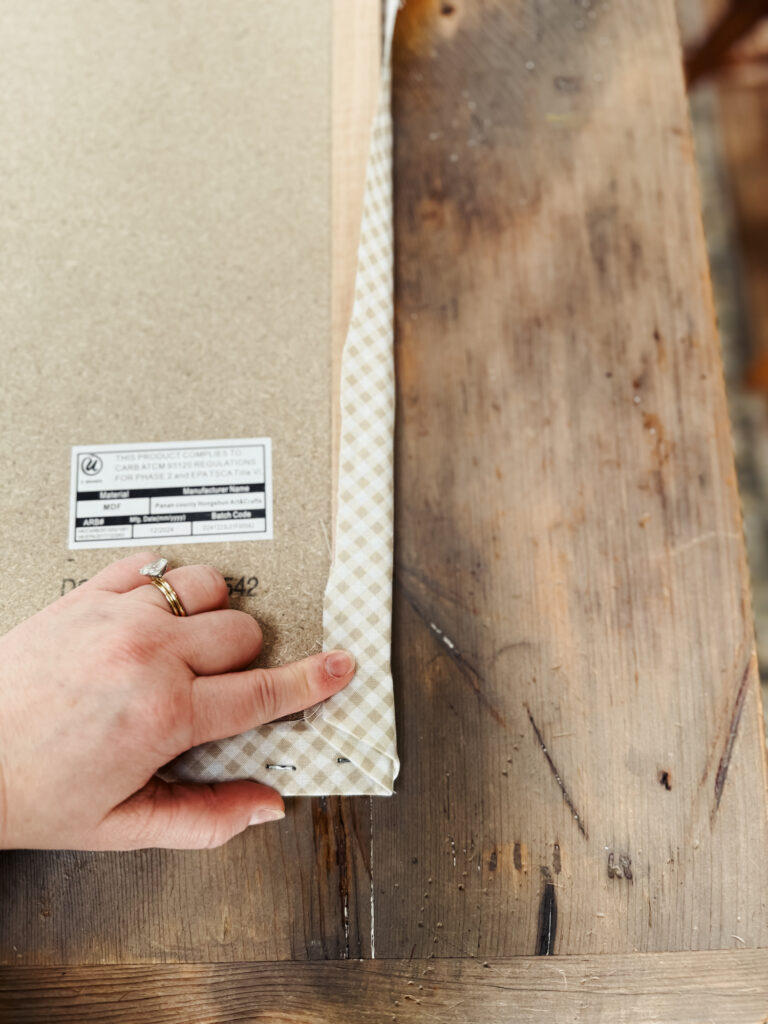
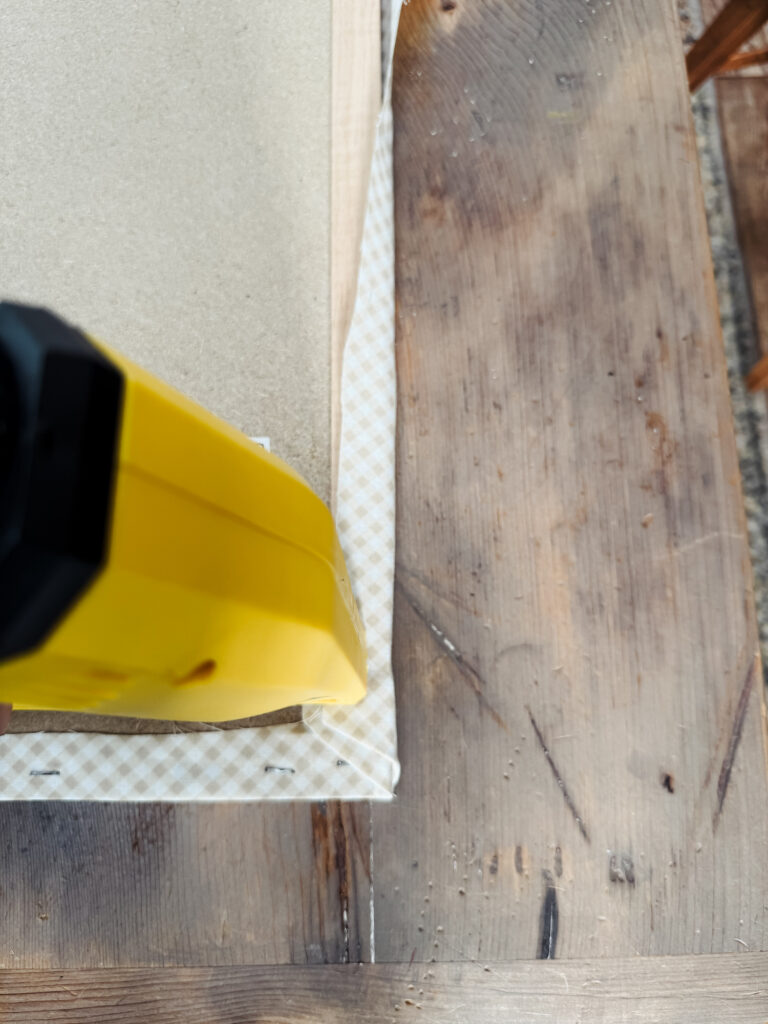
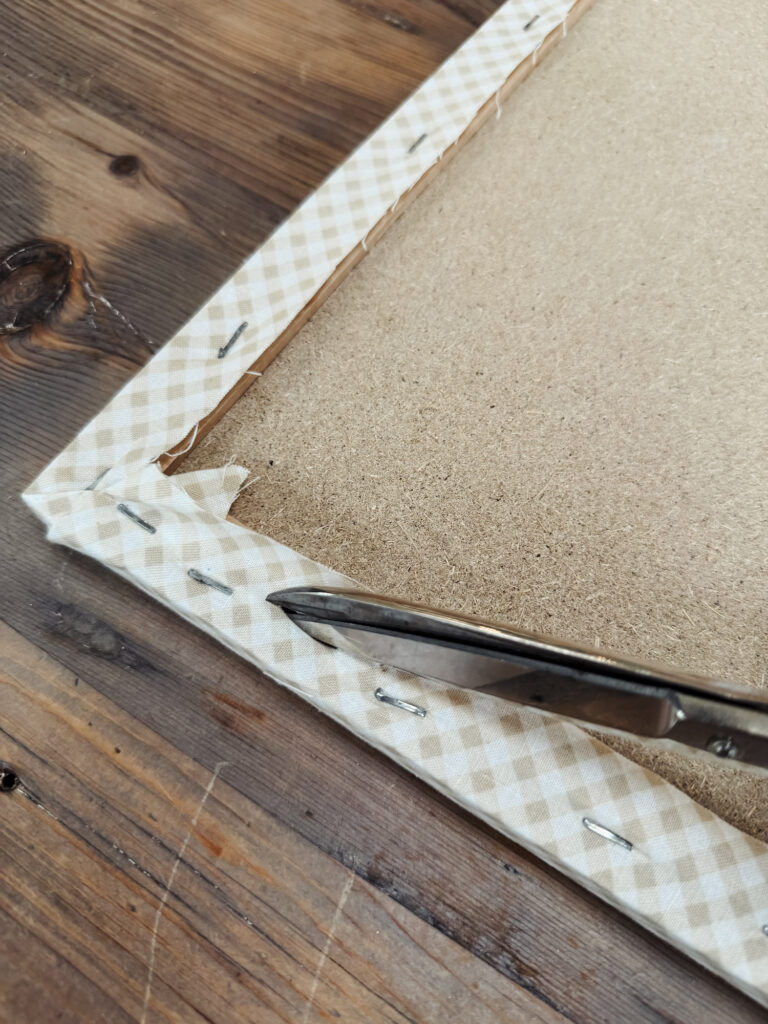
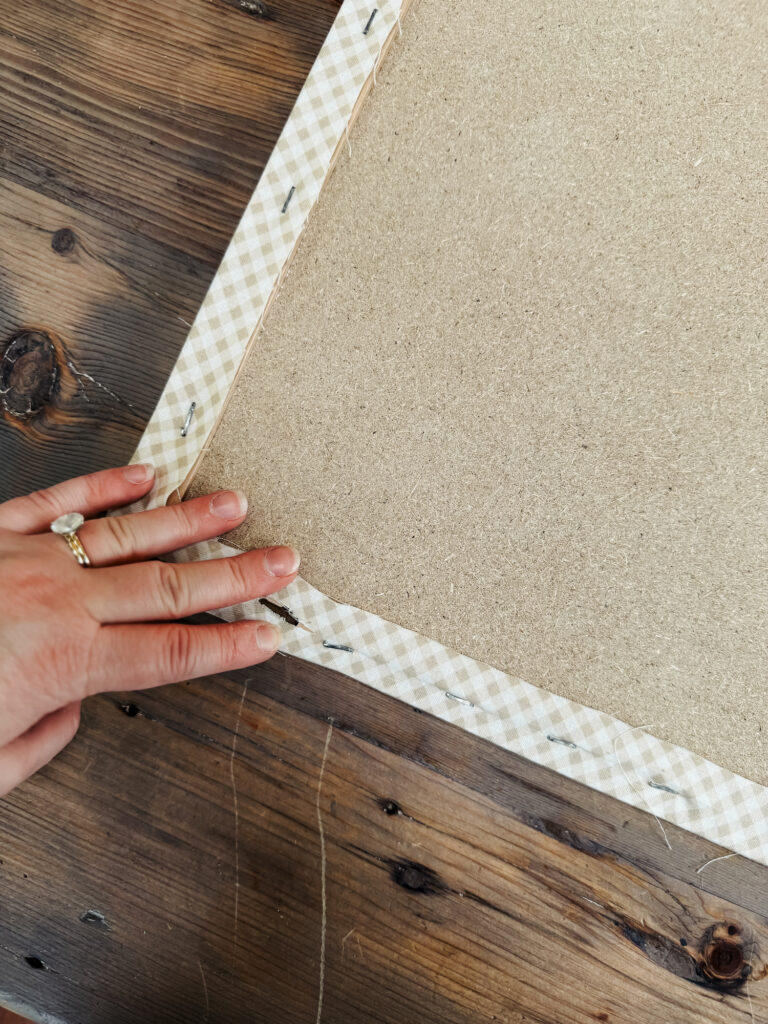
Step 4: Staple
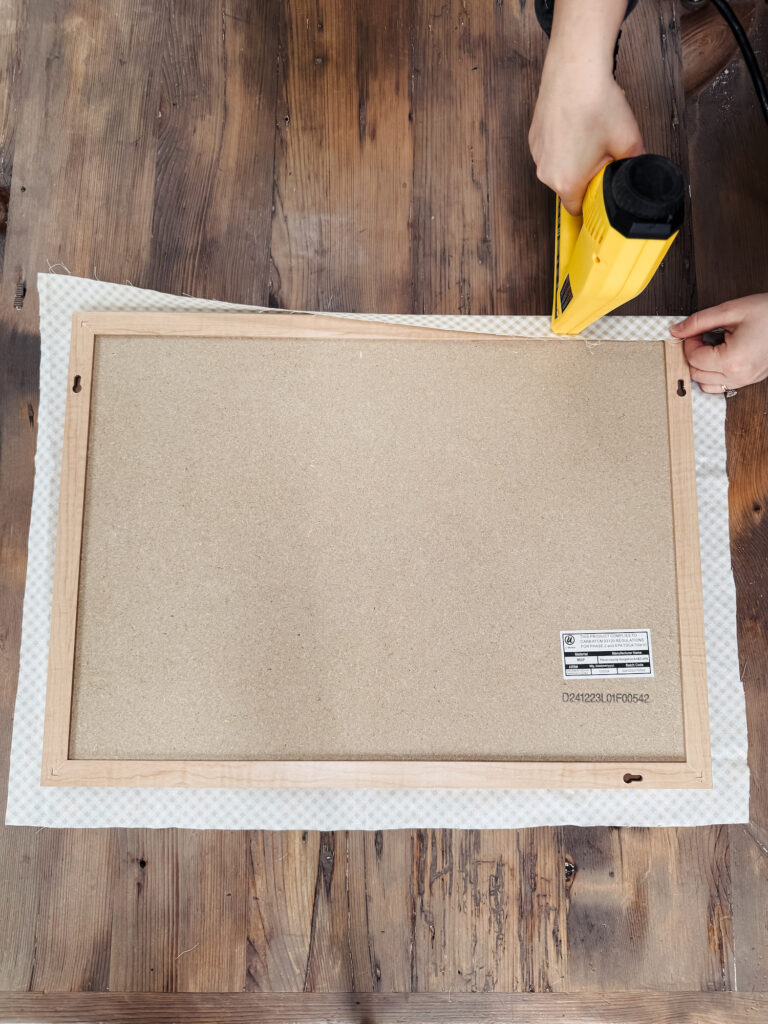
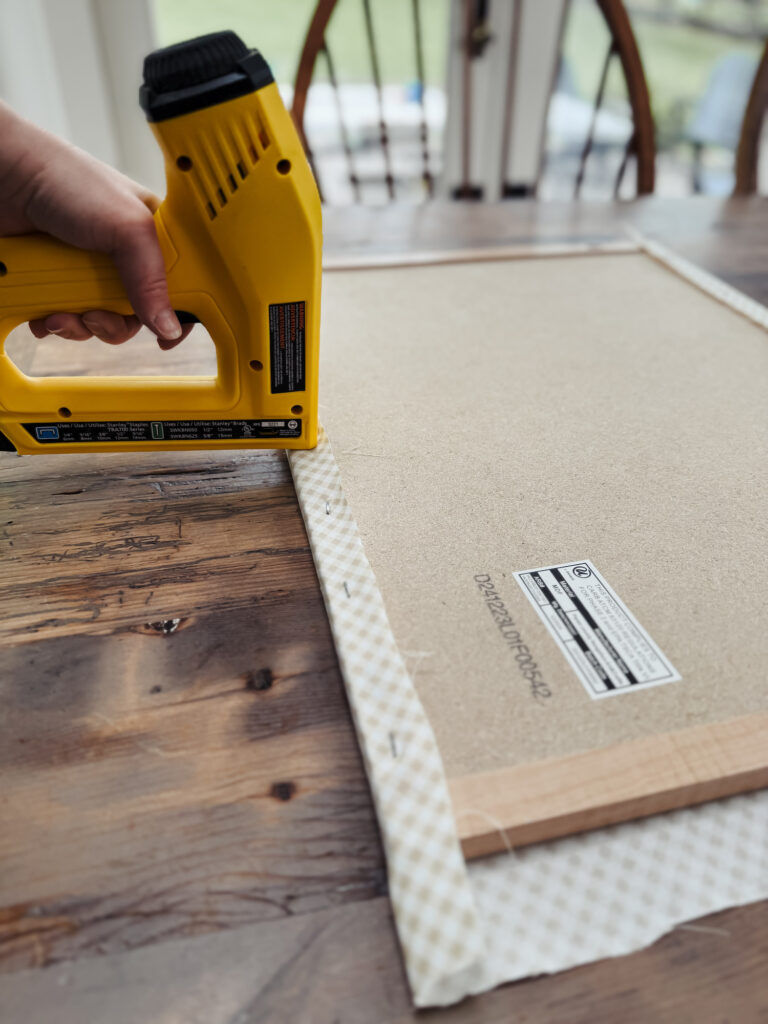
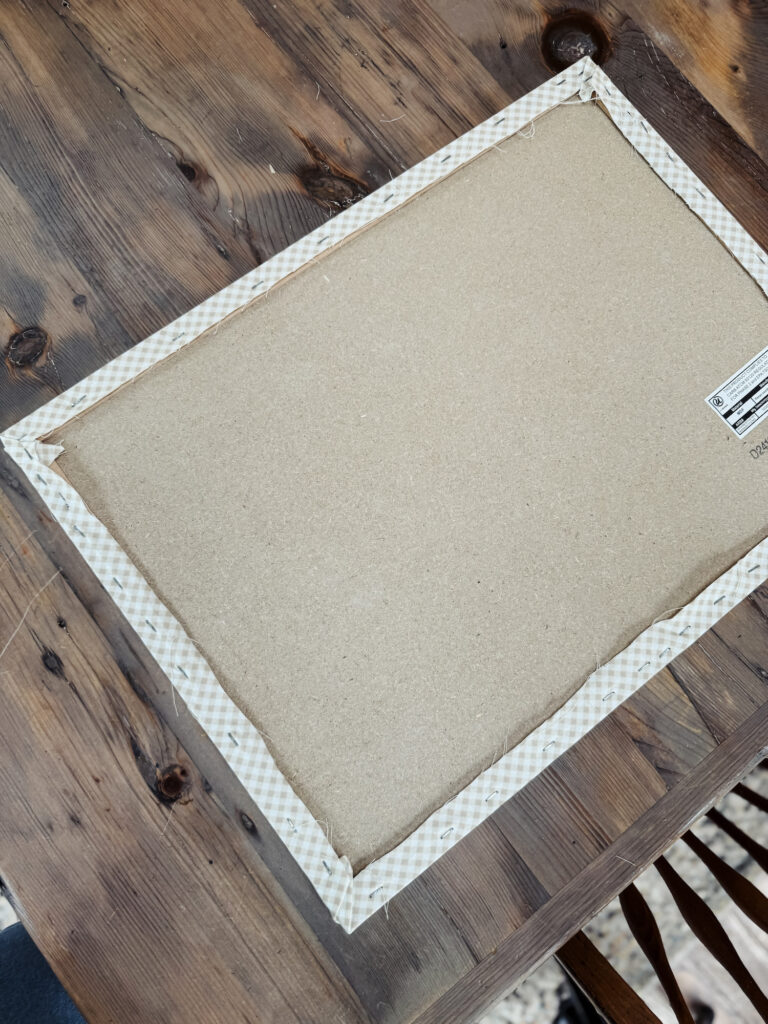
Start on one long side. Pull the fabric snug but not stretched (you don’t want to warp the print), and staple it to the back of the board frame. Place a staple every few inches. Then, do the opposite side, pulling evenly as you go. Repeat for the shorter sides.
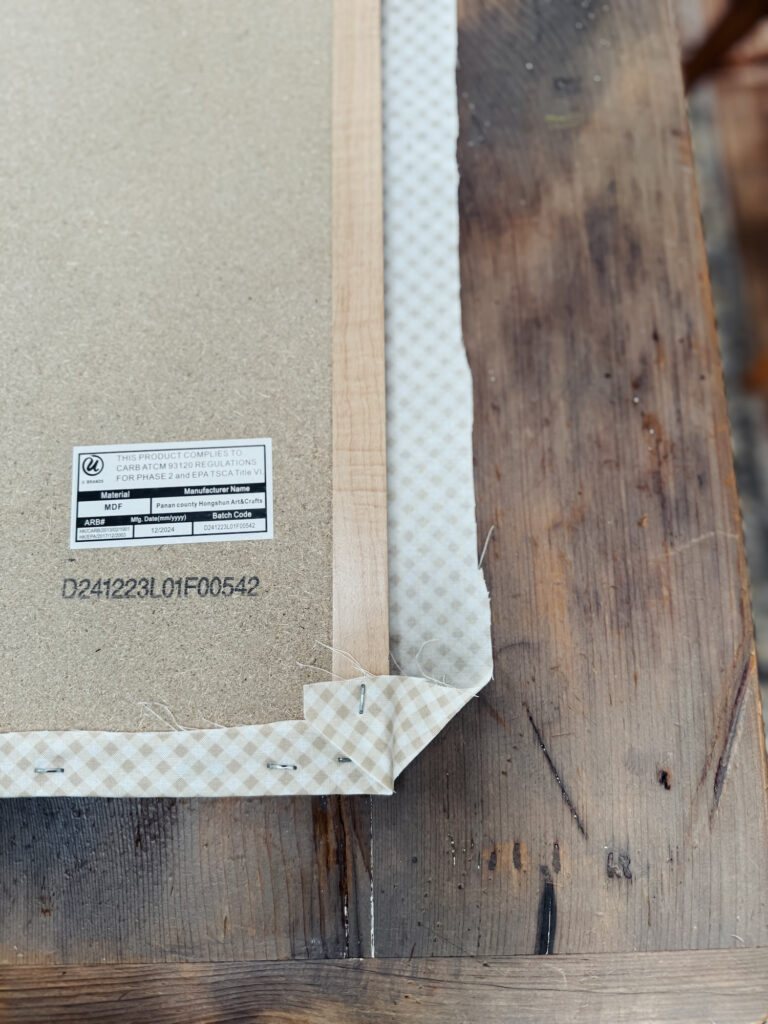
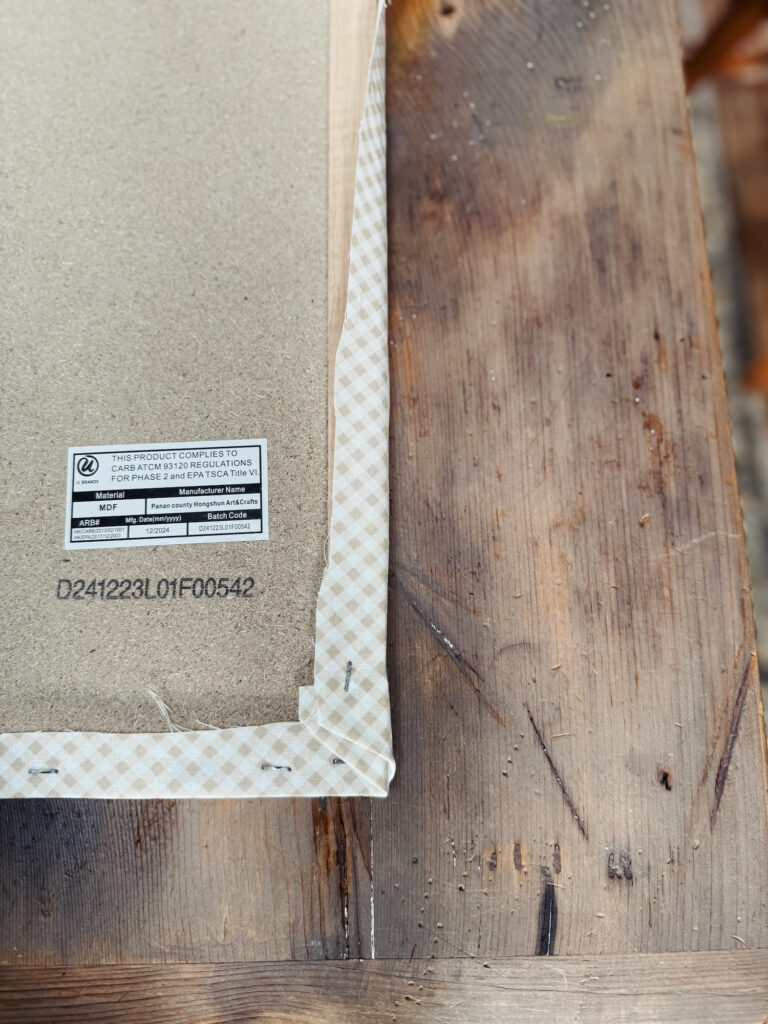
**Corners tip:** Fold them like you’re wrapping a present—clean and tidy. Don’t be afraid to redo a corner if it looks bulky.


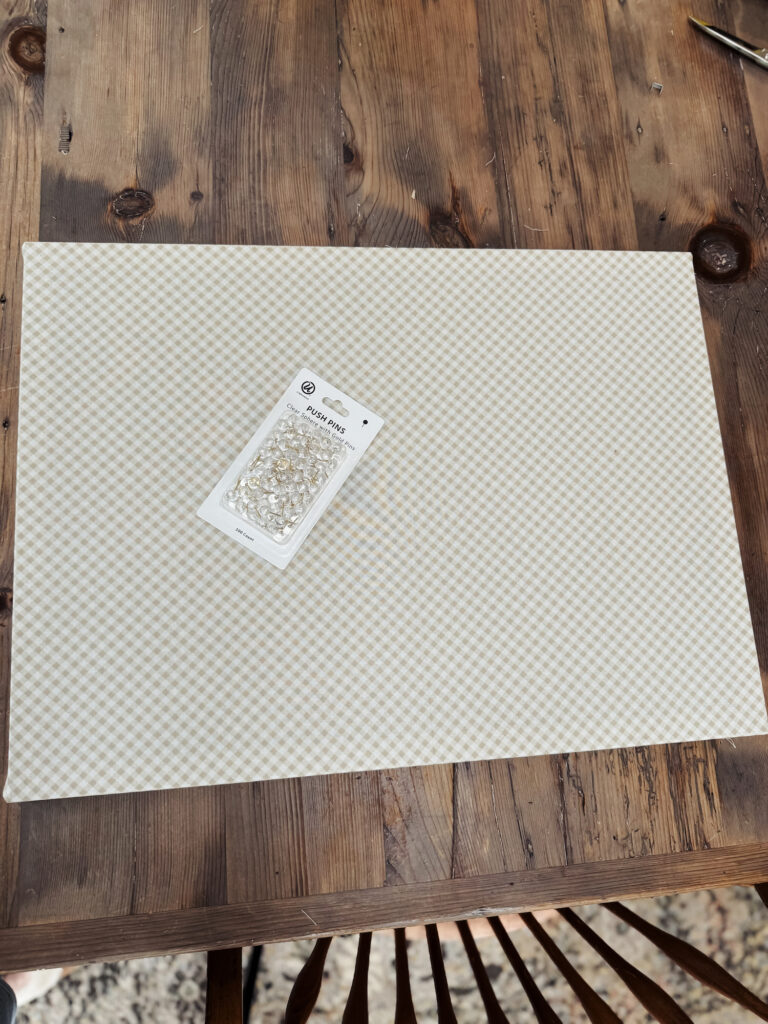
Step 5: Optional Fancy Touches
If you’re feeling extra crafty, now’s the time to add embellishments! You can criss-cross ribbon across the board to tuck photos under (French memo-board style), or add decorative tacks around the border for a vintage vibe. We kept ours simple so Ava’s treasures can shine.
Step 6: Hang & Admire
Use the board’s original hanging hardware, or add D-rings and picture wire if it didn’t come with any. I cut a small slit in the fabric and used the original holes for hanging in the frame. Hang it at kid-height so your little one can pin things herself—and let the decorating begin!
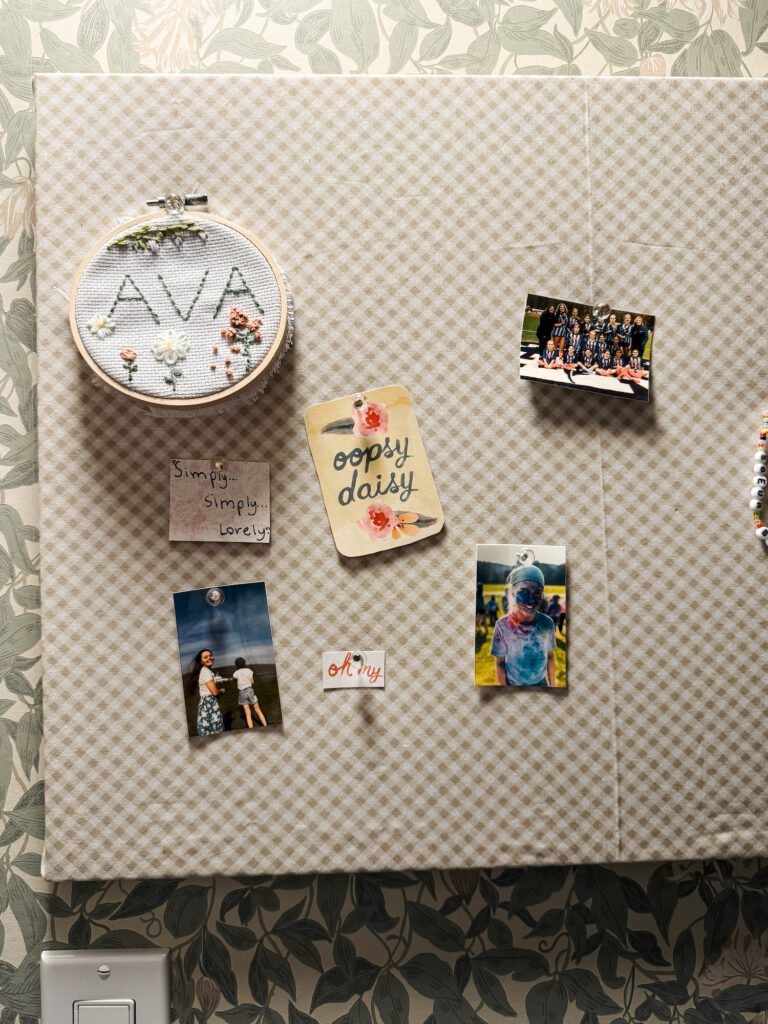
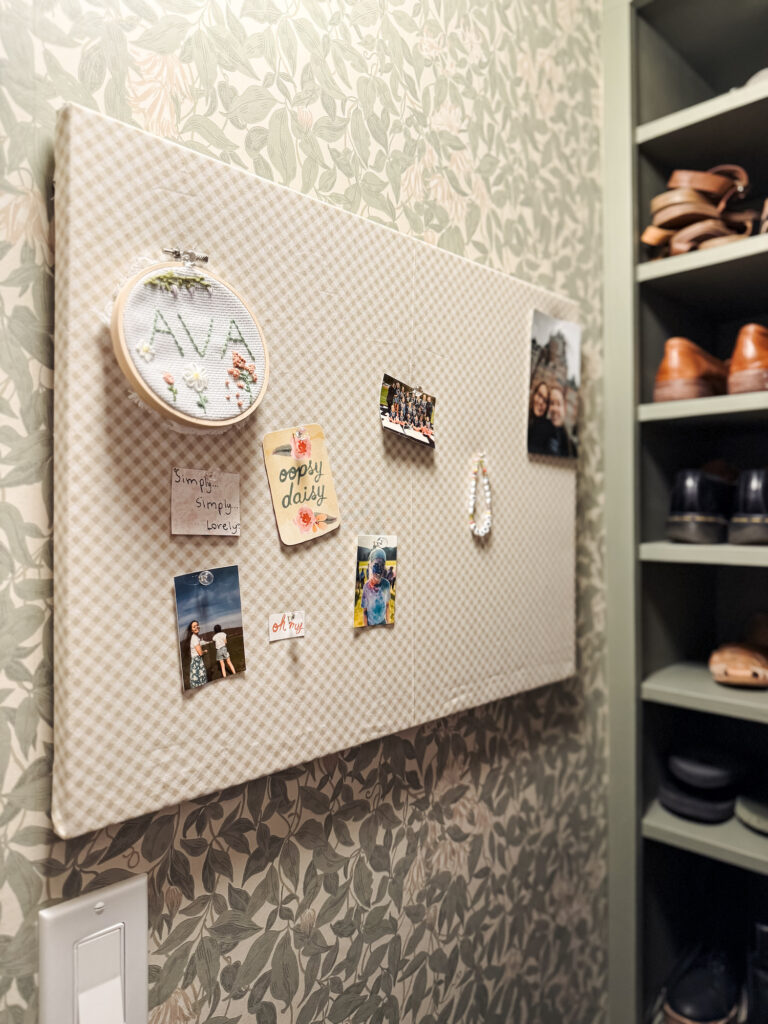
In such a digital world, there’s something magical about slowing down and making space for little collections. This pinboard is more than just decor—it’s a celebration of my daughters’ creativity and curiosity. Whether it’s a dried leaf from last fall or polaroid from our trip last summer, it now has a home.
More projects:
DIY cordless roman shade tutorial.